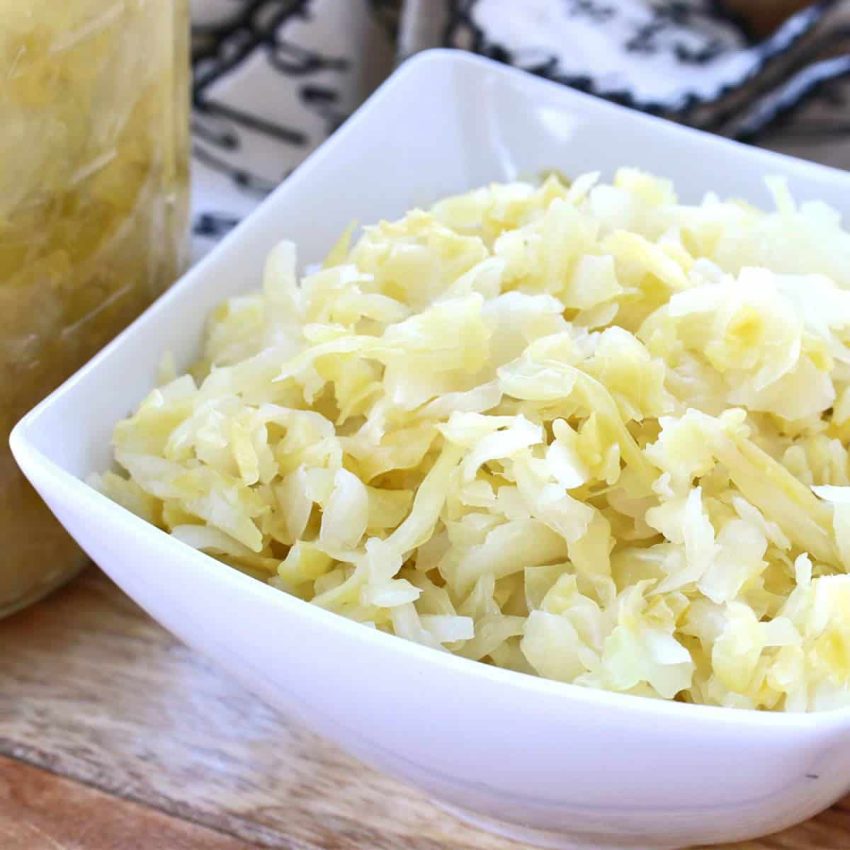
Homemade Sauerkraut
Making your own sauerkraut is a simple and rewarding process that involves just a few basic ingredients and a little patience. By fermenting fresh cabbage, you can create a nutrient-dense, probiotic-rich food that’s not only delicious but also beneficial for gut health. This guide walks you through every step, offering tips to ensure perfect results every time.
Why Make Sauerkraut at Home?
Store-bought sauerkraut often lacks the vibrant flavors and live probiotics found in homemade versions. By making it yourself, you have complete control over the ingredients, salt levels, and fermentation time, ensuring a healthy, additive-free product that suits your taste preferences.
What Makes Homemade Sauerkraut So Healthy?
Rich in Probiotics: Sauerkraut contains live, beneficial bacteria that support digestion and gut health.
Packed with Nutrients: Cabbage is a natural source of vitamins C and K, as well as fiber.
Natural Preservation: The fermentation process preserves the cabbage, making it a long-lasting, nutrient-packed food.
Tools and Equipment You’ll Need:
To make sauerkraut, you’ll need minimal tools:
A large mixing bowl for salting and wilting the cabbage.
A sharp knife, mandolin, or cabbage slicer for thinly slicing the cabbage.
A glass jar, ceramic crock, or food-safe fermentation container for fermenting.
A tamper or wooden spoon to pack the cabbage tightly.
Optional: weights to keep the cabbage submerged under the brine.
Choosing the Right Ingredients
1. Cabbage
Opt for fresh, green cabbage with firm, tightly packed leaves. Fresh cabbage produces more natural brine and ensures better texture in the final product.
Discard any damaged or bruised outer leaves before use.
2. Salt
Use non-iodized salt like sea salt or kosher salt, as iodized salt can inhibit the fermentation process.
Ensure your salt contains no anti-caking agents, which may disrupt the brine formation.
3. Optional Additions
While traditional sauerkraut needs only cabbage and salt, you can experiment with these optional ingredients for added flavor:
Caraway seeds for a warm, nutty taste.
Juniper berries for a hint of sweetness.
Garlic for a robust flavor boost.
Shredded carrots or beets for color and subtle sweetness.
Step-by-Step Process for Preparing Cabbage
Clean and Trim the Cabbage
Remove the outer leaves and slice the cabbage in half. Cut out the core, as it doesn’t ferment well.
Slice Thinly for Best Results
Use a knife, mandolin, or cabbage slicer to shred the cabbage into fine strips about 1/8 inch thick. Thinner slices ferment more evenly and produce a better texture.
Salt the Cabbage
For every pound of cabbage, use 1.5–2 teaspoons of salt (9–12 grams per 450 grams). Sprinkle the salt over the cabbage and toss it in a large bowl. Allow it to sit for 20 minutes to start releasing its natural juices.
Massage the Cabbage
After resting, massage or pound the cabbage with a tamper or your hands to release more liquid. This step is crucial for creating enough brine to submerge the cabbage during fermentation.
Packing and Fermenting the Cabbage
1. Transfer to a Jar or Crock
Pack the salted cabbage tightly into a glass jar or ceramic crock. Mash it down firmly to remove air pockets and ensure it’s submerged in its own liquid.
Fill the container to about two-thirds full, leaving room for the fermentation process, which creates bubbles.
2. Add Extra Brine if Needed
If the cabbage doesn’t release enough liquid to cover itself, make a simple brine by dissolving 1 teaspoon of salt in 1 cup of water. Add this brine until the cabbage is fully submerged.
3. Weigh It Down
To prevent mold, ensure the cabbage stays under the brine. Use a glass or ceramic weight, or simply press it down daily during fermentation.
4. Seal the Jar
Close the jar lid lightly, allowing gases to escape. If you’re using an airlock lid, follow the product instructions.
Fermentation: The Waiting Game
1. Optimal Conditions for Fermentation
Place your jar or crock in a dark, cool space with a consistent temperature of 65–70°F (18–21°C).
At this temperature, the fermentation process typically takes at least 2 weeks.
2. Daily Monitoring
Check the sauerkraut daily to ensure it remains submerged. Open the lid briefly each day to release built-up pressure if you’re not using an airlock lid.
3. When Is It Ready?
After 4–5 days, begin tasting your sauerkraut.
Fermentation times vary depending on your taste preference. A minimum of 2 weeks is recommended for optimal tanginess and texture.
Storing and Enjoying Sauerkraut
Once your sauerkraut reaches the desired flavor and texture:
Transfer it to the refrigerator or a cold storage area (38–50°F or 3–10°C).
Properly stored sauerkraut can last for several months.
Tips for Using Sauerkraut
Enjoy It Raw: Preserve the probiotic benefits by eating it straight from the jar.
Cook with It: Use sauerkraut in soups, stews, or as a topping for sausages and sandwiches.
Easy Sauerkraut Recipe
Prep Time: 20 minutes
Total Time: 14 days, 20 minutes
Ingredients:
1 ½–2 teaspoons salt per pound of cabbage (9–12 grams per 450 grams)
Fresh green cabbage (as fresh as possible for optimal results)
Instructions:
Prepare the Cabbage:
Remove damaged outer leaves and cut the cabbage in half.
Discard the core and thinly slice the cabbage into strips (about 1/8 inch thick).
Salt and Wilt:
Toss the cabbage with salt in a large bowl. Let it sit for 20 minutes to release its juices.
Pound or massage the cabbage until it’s wilted and brimming with liquid.
Pack into a Jar:
Transfer the cabbage and its liquid to a glass jar or ceramic crock.
Mash it down to eliminate air pockets and ensure it’s submerged under the brine.
Ferment:
Cover loosely or use an airlock lid. Keep the jar in a cool, dark space (65–70°F).
Check daily, releasing pressure if needed, and taste after 4–5 days.
Store:
Once it’s tangy and ready, store the sauerkraut in the fridge. Enjoy raw or in your favorite recipes!
