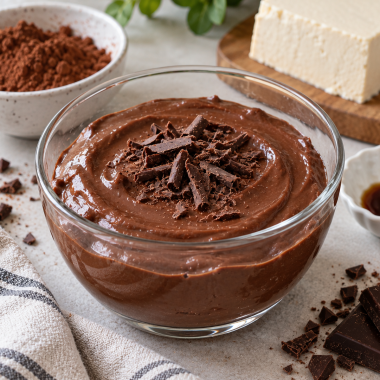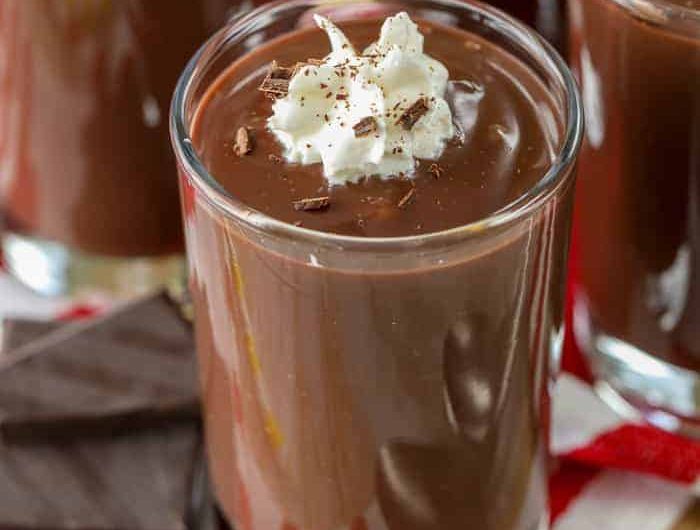
Homemade Chocolate Pudding is a rich, creamy, and deeply chocolatey dessert made with simple pantry ingredients. This easy chocolate pudding recipe needs no eggs and no boxed pudding mix. Instead, cocoa powder provides the chocolate flavor while cornstarch naturally thickens the milk into a smooth, spoonable dessert. With only a few minutes of preparation and cooking, it is an excellent choice when you want an easy homemade chocolate dessert without complicated baking.
One of the best things about this old-fashioned chocolate pudding is its simplicity. Sugar, baking cocoa, cornstarch, salt, whole milk, butter, and vanilla extract are transformed into a silky dessert using only a saucepan and basic cooking techniques. There is no oven, electric mixer, or special equipment required. Once cooked, the pudding can be divided into individual dishes and refrigerated until cold and properly set, making it convenient for both everyday desserts and special occasions.
Why Make Chocolate Pudding From Scratch?
Making chocolate pudding from scratch gives you a fresh dessert with a creamy consistency and full cocoa flavor. Although instant pudding mixes are convenient, homemade pudding requires only a few additional minutes of work. The cooking process is straightforward: combine the dry ingredients, gradually whisk in the milk, cook until thickened, and finish with butter and vanilla. The result is a classic chocolate dessert with a smooth texture that works equally well served plain or topped with whipped cream.
This recipe is also an excellent introduction to homemade stovetop desserts because it does not rely on eggs for thickening. Traditional custards can require careful temperature control to prevent eggs from scrambling, but this easy eggless chocolate pudding uses cornstarch instead. Cornstarch thickens the mixture as it heats, producing a rich pudding without the additional step of tempering eggs. This makes the preparation particularly approachable for anyone making homemade pudding for the first time.
What Makes This Chocolate Pudding Rich and Creamy?
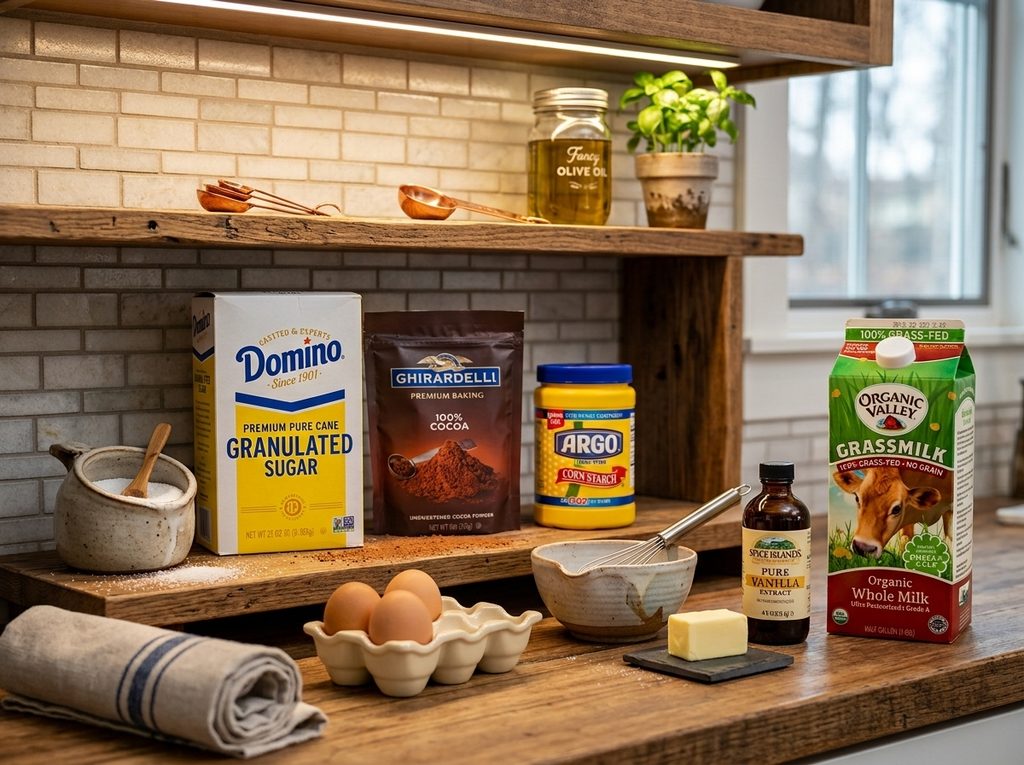
A good chocolate pudding needs the right balance of chocolate flavor, sweetness, creaminess, and thickness. Baking cocoa supplies the deep chocolate taste, while sugar balances the natural bitterness of cocoa. Whole milk provides richness and moisture, and cornstarch thickens the liquid into pudding. Butter added at the end provides additional richness, while vanilla extract rounds out the cocoa flavor and gives the finished dessert a warmer, more complete taste.
The method is just as important as the ingredients. Gradually adding milk to the dry mixture helps prevent lumps from developing. Constant stirring during cooking keeps the pudding smooth and helps prevent the mixture from sticking to the bottom of the saucepan. Once the pudding reaches a boil, cooking it for the specified two minutes allows the cornstarch to properly thicken the mixture before the butter and vanilla are added.
Understanding the Main Chocolate Pudding Ingredients
Each ingredient has a specific role in creating the finished dessert. Sugar provides sweetness, but it also helps balance the intensity of the baking cocoa. Cocoa powder gives this homemade cocoa pudding its recognizable chocolate color and flavor. Using good-quality baking cocoa can make a noticeable difference because chocolate is the main flavor of the dessert and there are relatively few other ingredients competing with it.
Cornstarch is responsible for turning the milk mixture into pudding. When cornstarch is heated with liquid, it thickens the mixture and gives it enough structure to set further as it cools. Salt may seem like a small addition, but it helps balance the sweetness and enhances the overall chocolate flavor. These dry ingredients should be thoroughly combined before any milk is added so the cornstarch and cocoa are distributed evenly.
Why Whole Milk Works Well in Chocolate Pudding
Whole milk is an important part of the creamy texture in this recipe. Its fat content contributes richness and creates a fuller mouthfeel than lower-fat milk. Four cups are used, providing enough liquid to make eight servings while maintaining the proper balance with the cornstarch. Once heated and thickened, the whole milk creates a smooth base that carries both the cocoa and vanilla flavors particularly well.
The original recipe specifically calls for whole milk, so using it provides the closest result to the intended pudding consistency. Different types of milk can behave differently because their fat, protein, and water content varies. If you want to reproduce the original texture and nutritional information as closely as possible, whole milk is therefore the appropriate choice rather than changing the recipe to another milk variety.
The Importance of Cornstarch for Eggless Chocolate Pudding
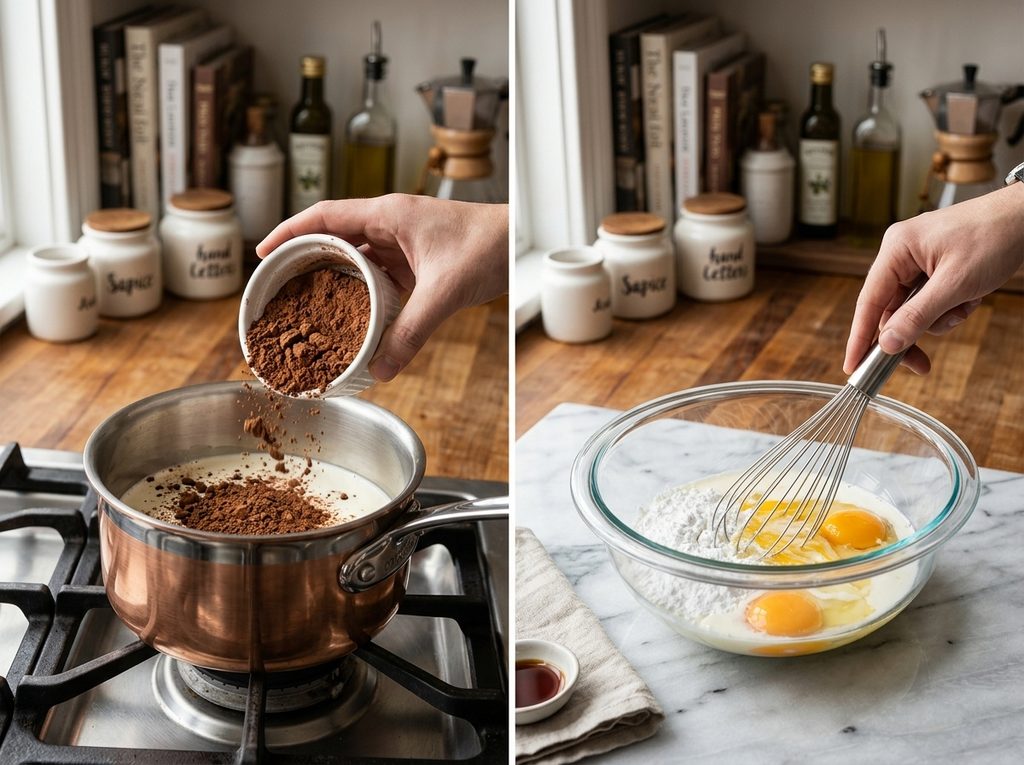
Cornstarch makes this an easy chocolate pudding without eggs. A quarter cup is enough to thicken four cups of whole milk along with the other ingredients. Unlike recipes that depend on egg yolks to create a custard consistency, this version develops its structure as the cornstarch is heated. This also simplifies preparation because there is no need to temper eggs or worry about small pieces of cooked egg appearing in the pudding.
Cornstarch must be distributed evenly before the mixture becomes hot. Combining it thoroughly with the sugar, cocoa, and salt helps prevent concentrated pockets from forming. Milk should then be incorporated gradually while whisking. As the saucepan heats, the mixture begins to thicken. Constant stirring is important at this stage because pudding can thicken quickly, particularly around the bottom and sides of the pan where heat is strongest.
How to Make Smooth Chocolate Pudding Without Lumps
Smooth texture is one of the most important qualities of homemade chocolate pudding. The easiest way to avoid lumps is to start with the dry ingredients. Place the sugar, baking cocoa, cornstarch, and salt in a heavy saucepan and whisk them until evenly combined. Breaking up visible cocoa or cornstarch clumps at this stage makes it much easier to create a smooth mixture once liquid is introduced.
Next, add the whole milk gradually instead of pouring all four cups into the saucepan at once. Whisk thoroughly as each portion of milk is incorporated. At first, a relatively small amount of milk will form a thick chocolate mixture. Continue adding milk while whisking until everything becomes smooth and uniform. This gradual approach helps the dry ingredients dissolve evenly and greatly reduces the chance of finding dry lumps in the finished pudding.
Cooking Chocolate Pudding on the Stove
Once the milk has been completely incorporated, place the saucepan over medium heat. Bring the mixture to a boil while stirring constantly. As the temperature increases, the cornstarch begins thickening the liquid and the mixture changes from a thin chocolate milk consistency into pudding. Keep the spoon or whisk moving across the bottom of the saucepan so the mixture heats evenly and does not scorch.
After the pudding reaches a boil, continue boiling and stirring for two minutes. This short cooking period is important because cornstarch needs sufficient heat to develop its thickening ability. The pudding should become visibly thicker during this stage. Avoid walking away from the stove, even briefly, because a milk-based mixture can stick, scorch, or boil unevenly when it is not stirred regularly.
Adding Butter and Vanilla for a Smooth Finish
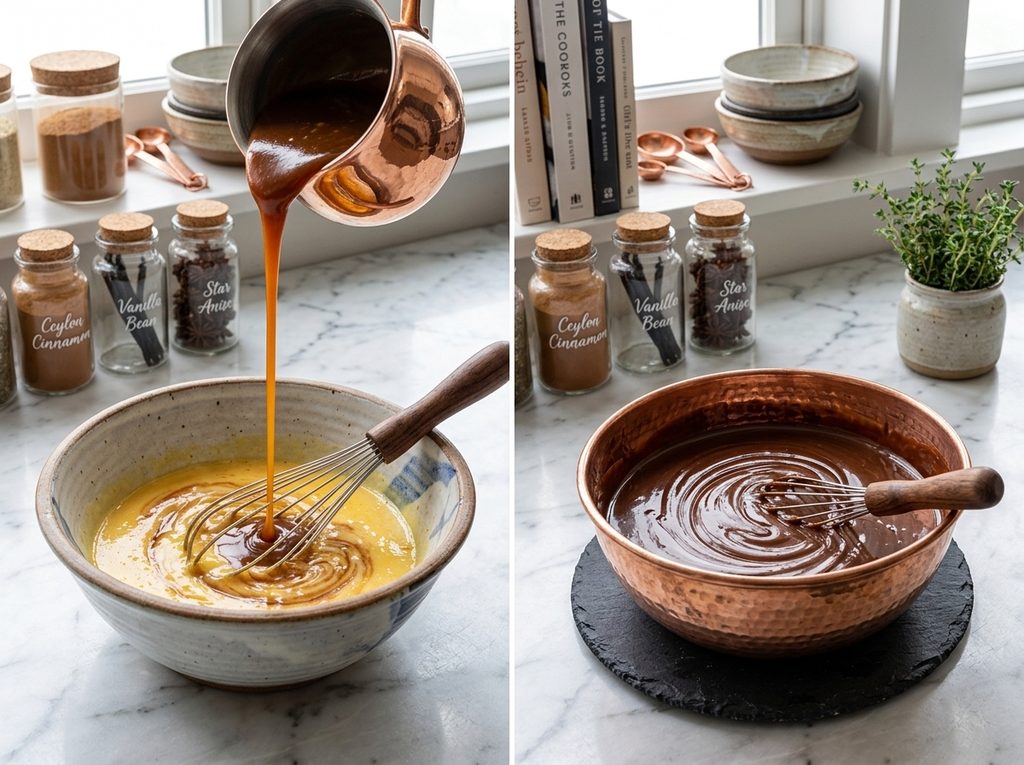
Once the two-minute boiling period is complete, remove the saucepan from the heat. Add two tablespoons of butter and two teaspoons of vanilla extract. Stir until the butter has completely melted and disappeared into the chocolate mixture. Adding these ingredients after cooking preserves their flavor while giving the pudding a smooth, rich finish. The butter contributes additional creaminess, while vanilla enhances the chocolate without overpowering it.
Make sure the butter is fully incorporated before dividing the pudding into serving dishes. The mixture will still be warm and somewhat softer at this point, which makes it easy to spoon into individual containers. It will become noticeably thicker as it cools. Although the pudding can be enjoyed warm, refrigeration gives it the familiar chilled texture associated with classic homemade chocolate pudding.
How to Chill Homemade Chocolate Pudding
Transfer the freshly cooked pudding into eight individual serving dishes or another suitable container. Refrigerate it until thoroughly chilled and set. Cooling allows the cornstarch-thickened mixture to become firmer, transforming the warm, soft pudding into a creamy chilled dessert. Individual dishes are convenient because the pudding can go directly from the refrigerator to the table without needing to be divided later.
A thin skin can sometimes form on homemade pudding as its exposed surface cools. If you prefer pudding without a skin, place food-safe plastic wrap directly against the surface before refrigerating it. This reduces exposure to air and keeps the top soft. Once chilled, remove the covering carefully and add any desired optional garnish immediately before serving.
Serving Homemade Chocolate Pudding
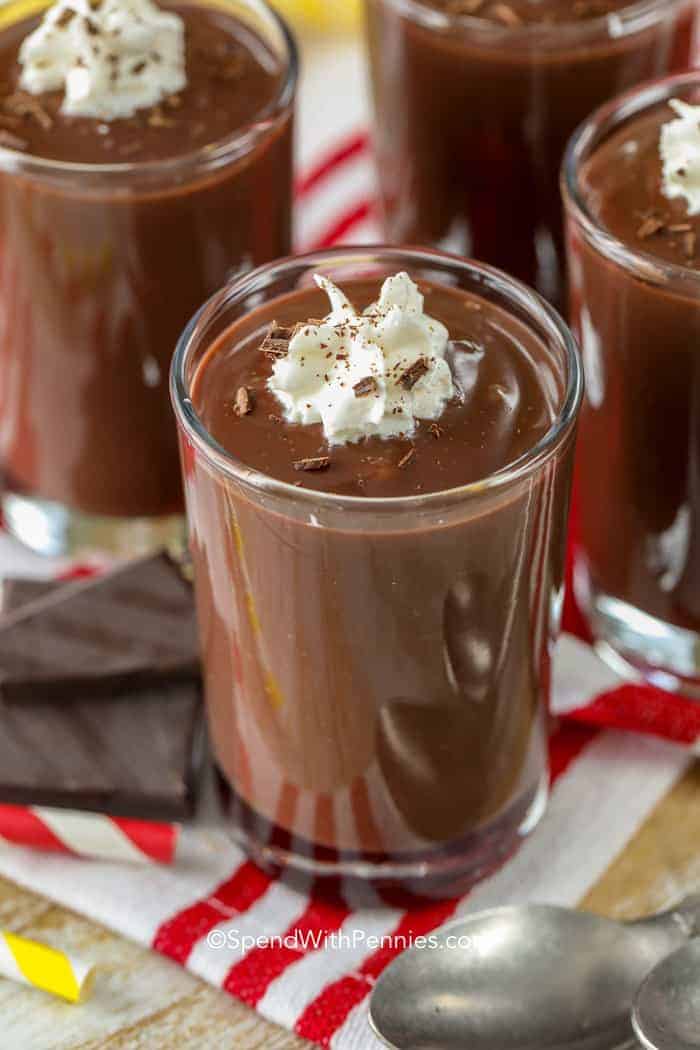
This creamy chocolate pudding is flavorful enough to serve completely plain. Its simple presentation works especially well when you want a quick family dessert without extra preparation. However, the original recipe also includes sweetened whipped cream and M&M’s as optional garnishes. A spoonful of whipped cream creates a light contrast with the dense chocolate pudding, while the candies add color, texture, and extra sweetness.
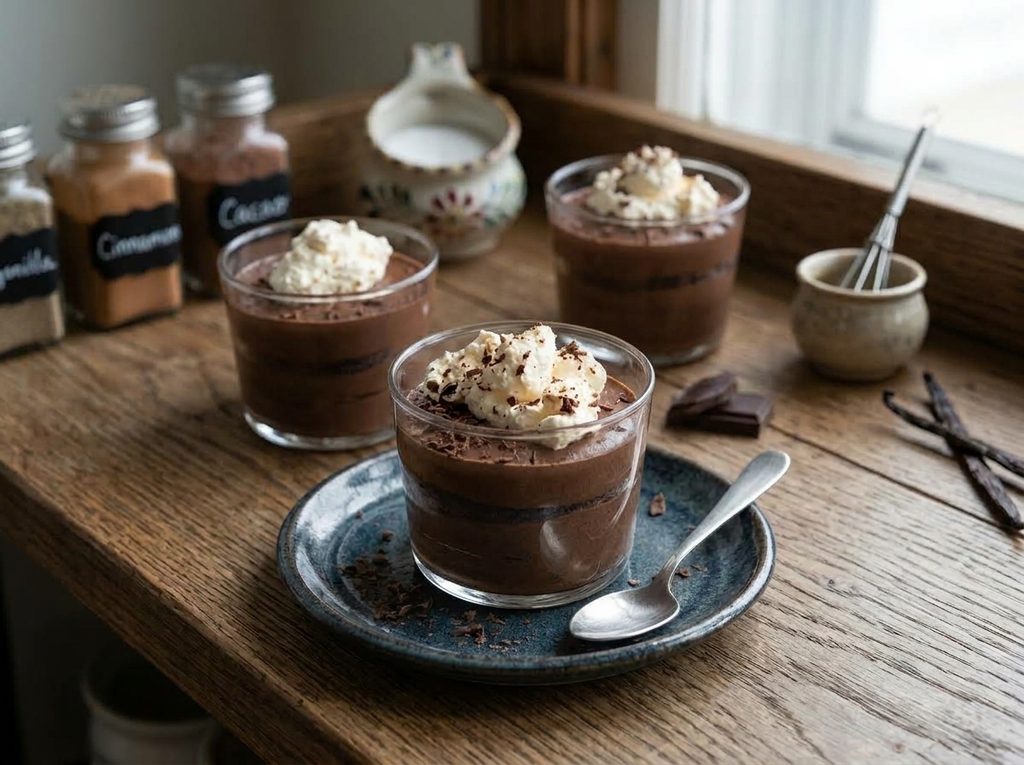
For a more polished presentation, divide the pudding into clear dessert glasses before chilling. This showcases its deep chocolate color and makes each portion ready to serve. Garnishes should generally be added shortly before eating rather than before a long refrigeration period, particularly when using ingredients that may soften or release moisture. The pudding itself remains the main attraction, so elaborate decoration is not necessary.
Warm Chocolate Pudding vs. Chilled Chocolate Pudding
Although chocolate pudding is traditionally chilled, freshly cooked pudding can also be eaten warm. Warm pudding has a softer, looser consistency because the cornstarch mixture continues to set as its temperature falls. The chocolate and vanilla aromas can also seem particularly noticeable when the pudding is warm, creating a comforting stovetop dessert that can be served shortly after cooking.
For the classic thick and creamy chocolate pudding texture, however, chilling is the preferred approach. Refrigeration gives the pudding time to set and creates a firmer spoonable consistency. If you plan to prepare dessert ahead for guests or family meals, making it several hours before serving gives it sufficient time to cool completely. This also reduces the amount of work required immediately before dessert.
Chocolate Pudding Flavor Variations
The basic recipe can serve as a foundation for different flavor combinations, although these variations would change the original ingredient list. For a richer version, some cooks use half-and-half in place of part or all of the milk. Coffee and chocolate also work naturally together, so a small amount of instant coffee or espresso powder can intensify the cocoa flavor and create a coffee-inspired chocolate pudding.
Peanut butter is another popular pairing with chocolate. Stirring creamy peanut butter into warm pudding can create a chocolate-peanut butter dessert, while mint extract can provide a fresh mint-chocolate flavor. These ideas should be treated as optional variations rather than part of the original recipe. If exact nutrition values or the original ingredient composition matters, prepare the pudding using only the ingredients listed in the recipe card.
How to Store Homemade Chocolate Pudding
Homemade chocolate pudding can be stored in the refrigerator for approximately five to seven days when handled and refrigerated properly. Keep it covered to protect the surface and prevent the pudding from absorbing flavors or odors from other refrigerated foods. For the smoothest surface, place plastic wrap directly against the pudding rather than leaving a large pocket of air between the dessert and covering.
Freezing the finished pudding for later thawing is generally not recommended because the smooth texture can change as it freezes and defrosts. The mixture may separate or become less creamy after thawing. For that reason, refrigeration is the better option when making this pudding ahead. Prepare an amount that can reasonably be enjoyed within several days for the best consistency and flavor.
Notes for Perfect Homemade Chocolate Pudding
For smooth pudding, thoroughly combine the sugar, cocoa, cornstarch, and salt before introducing any liquid. Add the milk gradually and whisk continuously until each addition has blended into the mixture. Once the saucepan is over medium heat, continue stirring as the pudding approaches a boil. These straightforward steps help prevent dry pockets of cocoa and cornstarch from becoming stubborn lumps later.
Use a heavy saucepan if available because it distributes heat more evenly and can reduce the risk of scorching. Do not stop stirring once the mixture begins thickening. After it reaches a boil, continue cooking and stirring for the full two minutes specified in the recipe. Finally, remove the pan from the heat before adding the butter and vanilla, then stir until the butter is completely melted.
How to Fix or Prevent Lumpy Chocolate Pudding
Lumps usually develop when the dry ingredients are not evenly dispersed or when liquid is added too quickly. Prevention is easier than correction, which is why gradually adding milk is such an important part of this recipe. Whisk after each addition until the mixture appears smooth before pouring in more milk. Continue stirring throughout cooking because cornstarch thickens rapidly once it reaches the necessary temperature.
Temperature control also matters. Medium heat provides enough warmth to bring the pudding to a boil without unnecessarily exposing the milk mixture to aggressive heat. Once boiling begins, maintain steady stirring and follow the two-minute cooking period. A smooth beginning, gradual milk addition, moderate heat, and constant stirring together provide the most reliable method for making creamy homemade chocolate pudding without lumps.
Turning Chocolate Pudding Into a Special Dessert
Although this recipe is easy enough for an everyday dessert, its rich chocolate flavor makes it suitable for more decorative presentations. Individual glasses can be topped with sweetened whipped cream immediately before serving. The optional M&M’s can provide a colorful finish, especially when the pudding is prepared for children, celebrations, or casual gatherings. Even simple glass serving dishes can make the dark chocolate pudding look attractive.
The pudding can also provide inspiration for layered desserts and other chocolate creations, although adding extra ingredients will change the original recipe. If you want to preserve this recipe exactly, simply prepare the pudding, chill it, and add only the optional garnishes listed. Its creamy consistency and straightforward chocolate flavor mean it does not need complicated toppings to make a satisfying dessert.
Why This Easy Chocolate Pudding Recipe Works
This easy homemade chocolate pudding succeeds because every ingredient has a clear purpose. Cocoa creates the chocolate flavor, sugar provides sweetness, cornstarch thickens the mixture, whole milk creates the creamy base, salt balances the flavors, and butter and vanilla provide a rich finish. There are no eggs to temper and no baking required, making the cooking process relatively quick and easy to control.
With only five minutes of preparation and approximately five minutes of cooking, the active work is minimal. Most of the remaining time is simply waiting for the pudding to chill. The recipe yields eight servings, making it suitable for family meals or preparing dessert ahead for guests. For anyone searching for an easy chocolate pudding recipe, eggless chocolate pudding, homemade cocoa pudding, or a quick no-bake chocolate dessert, this simple stovetop method provides a dependable option.
Chocolate Pudding
Rich, smooth, and creamy homemade chocolate pudding made from scratch with cocoa powder, whole milk, cornstarch, butter, and vanilla.
8
servings5
minutes5
minutes196
kcal10
minutesIngredients
1 cup sugar
½ cup baking cocoa
¼ cup cornstarch
½ teaspoon salt
4 cups whole milk
2 tablespoons butter
2 teaspoons vanilla extract
Optional: Sweetened whipped cream and M&M’s
Directions
- Combine sugar, baking cocoa, cornstarch, and salt in a heavy saucepan.
- Gradually whisk in the whole milk until smooth.
- Bring to a boil over medium heat, stirring constantly.
- Boil and stir for 2 minutes until thickened.
- Remove from heat and stir in butter and vanilla.
- Spoon the pudding into individual serving dishes.
- Refrigerate until chilled and set.
- If desired, garnish with sweetened whipped cream and M&M’s before serving.
Nutrition Facts
- Calories: 196kcal
- Fat: 4g
- Carbohydrates: 38g
- Protein: 5g