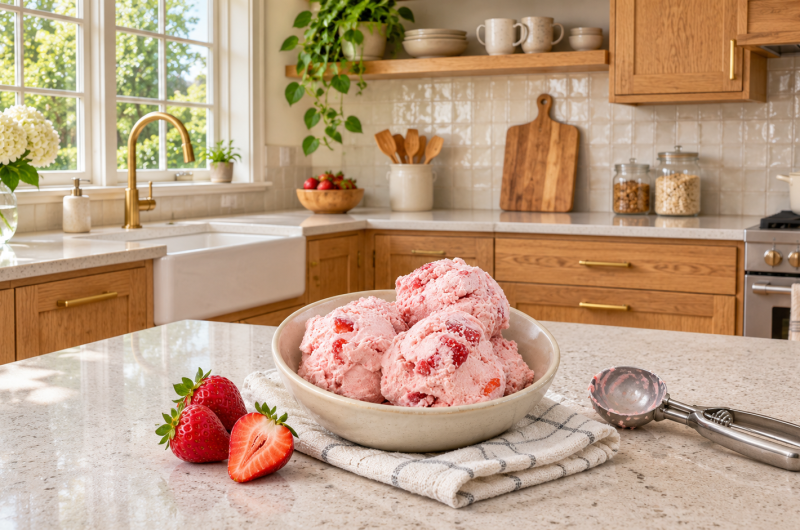
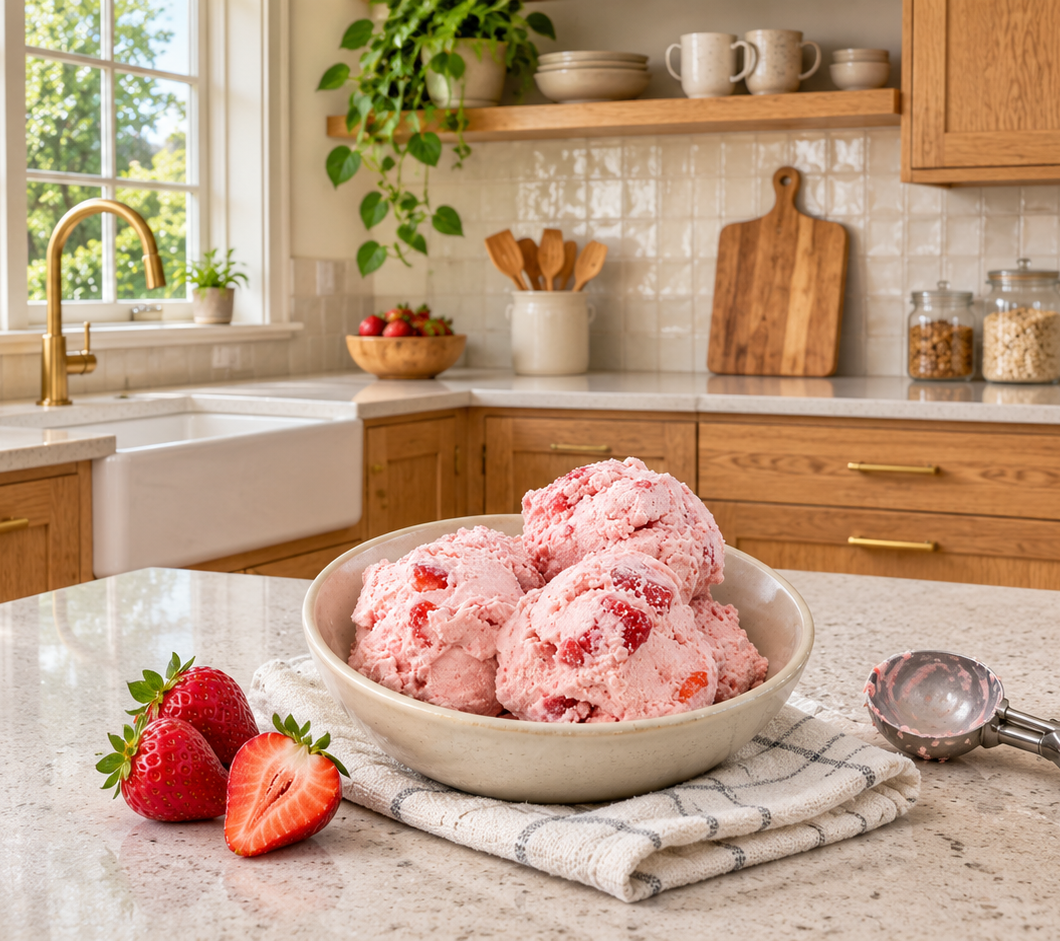
This homemade strawberry ice cream is creamy, fruity, and easy to make with an ice cream maker. The recipe uses heavy cream, whole milk, and strawberries for a rich base with a clear berry flavor. It’s an eggless, no-cook ice cream, so you can mix everything in a bowl and chill it before churning. Fresh strawberries work beautifully in season, and frozen berries let you make the same dessert any time of year. You can blend the fruit completely smooth or leave some chopped strawberries in the mix for little bites of fruit in every scoop.
What Makes This Strawberry Ice Cream Creamy
Heavy cream gives this ice cream its full, creamy texture, while whole milk makes the base easy to pour and churn. The recipe also gives you the option of using half-and-half in place of the whole milk. That version will have a slightly richer dairy base, but the steps stay the same. The balance matters because strawberries bring a fair amount of water to the mix. When the fruit is blended into the cream and milk, the flavor spreads evenly through the base, so each spoonful tastes of strawberry even if you choose the smooth version.
Sugar does two jobs in homemade ice cream. It sweetens the fruit and helps the mixture stay soft enough to scoop after freezing. The recipe calls for three-quarters of a cup, with the option to use a full cup if you prefer a sweeter ice cream. A small amount of pure vanilla extract rounds out the berry flavor, and a pinch of kosher salt balances the sweetness. Splitting the sugar between the strawberries and the dairy base gives the fruit time to release its juice while leaving enough sugar to stir into the rest of the mixture.
Choosing Fresh or Frozen Strawberries
Fresh strawberries are a good choice when they smell sweet and taste ripe. Since the fruit provides the main flavor, it’s worth tasting a berry before you start. Wash and dry the strawberries, remove the green tops, and roughly chop them before measuring. There’s no need to cut each piece to the same size because most or all of the fruit will go into the blender. If you’re keeping some pieces whole for a chunky ice cream, chop that portion a little smaller so the pieces are pleasant to bite into once frozen.
Frozen strawberries are especially handy when fresh berries are expensive or have a mild flavor. If your berries are frozen whole, let them soften enough to chop safely and blend easily. Keep the juice that collects as they soften, since it carries strawberry flavor and belongs in the base along with the fruit. Once the berries are chopped, toss them with half of your measured sugar just as you would with fresh strawberries. Whether you use fresh or frozen berries, blending the fruit with its juice gives the dairy base a more even flavor.
How to Make Strawberry Ice Cream in an Ice Cream Maker
Let the Strawberries Release Their Juices
Put the roughly chopped strawberries into a bowl and toss them with half of the sugar. Give them about 15 minutes to sit. During that time, the sugar draws juice from the berries and forms a thin strawberry syrup at the bottom of the bowl. Pour that juice into the blender with the fruit. It blends easily into the cream and carries some of the sweetness you’ve already measured for the recipe. A gentle stir before you transfer the fruit helps loosen any sugar or syrup still clinging to the bottom of the bowl.
Choose a Smooth or Chunky Texture
For smooth strawberry ice cream, blend all the berries and their juices until you have a pourable purée. For a chunky version, set aside about one-third of the chopped berries after they’ve rested with the sugar. Blend the remaining berries with the juice, then add the reserved pieces when you mix the base. Blending most of the fruit gives the ice cream a strawberry flavor throughout, while the chopped portion adds texture. Small berry pieces work particularly well here because fruit firms up in the freezer and larger chunks can feel quite hard in a scoop.
Mix and Chill the Base
In a large bowl, combine the strawberry purée, any reserved pieces, the chilled heavy cream, the chilled whole milk or half-and-half, the remaining sugar, the vanilla extract, and the kosher salt. Stir to distribute the ingredients, cover the bowl, and refrigerate it for at least one hour. Starting with cold dairy helps the mixture stay cool, but the full chill gives the entire base time to reach refrigerator temperature after mixing. Before pouring it into the machine, stir thoroughly again. If you can still feel sugar grains at the bottom of the bowl, keep stirring until they dissolve.
Churn Until Thickened
Pour the cold base into your ice cream maker and churn it according to the manufacturer’s directions. If your machine uses a removable freezer bowl, check how far in advance it needs to be frozen before starting the recipe. The exact churning time depends on the machine, so look for the mixture to become thick and hold soft ridges as the paddle moves through it. At this stage, it will usually resemble soft serve. Have your freezer-safe container ready so you can transfer the ice cream as soon as it finishes churning.
Freeze Until Firm Enough to Scoop
Spoon the churned ice cream into the container, smooth the surface lightly, and close the lid. Freeze it for at least four hours or until it’s firm enough to scoop. If you’re making it for guests, preparing it the day before gives the ice cream time to firm up overnight and leaves you with one less thing to do before serving. The recipe makes about one quart, which gives eight half-cup servings. How long it takes to reach a firm texture will vary with the shape of your container and the temperature of your freezer.
Notes
Plan for the Full Freezing Time
The hands-on prep takes about 10 minutes, but there are several stages between chopping the berries and serving the ice cream. Allow about 15 minutes for the strawberries to release their juices, at least one hour for the mixed base to chill, and at least four hours for the churned ice cream to firm up. Add the time your machine needs to churn, along with any advance time needed to freeze its bowl. For a same-day dessert, start early. For an evening meal or gathering, churning it the day before makes the timing easier.
Keep the Texture Smooth in Storage
Store homemade strawberry ice cream in a freezer-safe container with a tight-fitting lid. If you expect to keep it for more than a few days, press a piece of plastic wrap directly against the surface before closing the lid. This limits the air touching the ice cream and helps reduce the formation of surface ice crystals. Keep the container toward the back of the freezer, where it’s less exposed to warm air when the door opens. For the best texture, aim to finish the ice cream within two weeks.
Soften It Briefly Before Serving
Homemade ice cream can be quite firm straight from the freezer, especially after sitting overnight. Let the closed container stand on the counter for a few minutes if your scoop has trouble cutting through the surface. A scoop dipped in warm water and wiped dry can also help you make cleaner portions. Serve what you need and return the container to the freezer promptly. Repeatedly letting the whole batch soften and firm up can make it feel icier over time, especially around the edges where it warms up first.
Serve It in Waffle Cones or Dessert Bowls
A waffle cone adds a crisp bite to this creamy strawberry ice cream and makes an easy single serving. Fill the cones just before serving so they stay crisp. Small dessert bowls work well when you’re serving several people and want to portion the ice cream quickly. The smooth version gives each scoop an even texture, while the chunky version shows little flecks and pieces of fruit. If you’re serving the ice cream alongside another dessert, a small scoop is usually enough to bring a bright berry flavor to the plate.
Troubleshoot a Soft or Icy Batch
If the mixture still looks thin after the expected churning time, check whether the base was fully chilled and whether the machine’s freezer bowl was frozen as directed. A properly churned base will still be soft when it comes out of the machine, so give it the full freezer time before judging its final texture. If you notice hard spots only where the strawberry pieces are, try chopping the reserved berries more finely next time or blending all the fruit into the base. If crystals mainly form on top during storage, cover the surface directly and check that the lid closes tightly.
Strawberry Ice Cream
 Recipe by admin
Creamy, eggless strawberry ice cream made with fresh or frozen berries. Use an ice cream maker and blend the fruit smooth or leave in small strawberry pieces.
8
servings10
minutes298
kcal240
minutes4
hours10
minutesIngredients
2 cups roughly chopped fresh or frozen strawberries
2 cups heavy cream, chilled
1 cup whole milk or half-and-half, chilled
¾ cup granulated sugar, or 1 cup if you prefer it sweeter
2 teaspoons quality pure vanilla extract
⅛ teaspoon kosher salt
Waffle cones, optional
Directions
- Toss the strawberries with half the sugar. Let stand for 15 minutes.
- Blend the berries and their juices until smooth. For a chunky texture, reserve about one-third of the berries before blending.
- Mix the purée, any reserved berries, cream, milk or half-and-half, remaining sugar, vanilla, and salt. Cover and refrigerate for at least 1 hour.
- Stir until the sugar dissolves. Churn according to your ice cream maker’s directions until the mixture thickens.
- Transfer to a freezer-safe container. Cover and freeze for at least 4 hours, or overnight for a firmer scoop. Serve in waffle cones if desired.
Notes
- Let frozen berries soften enough to chop, and use any juice they release.
- Press plastic wrap directly onto the ice cream before sealing the container to help reduce surface ice crystals.
- Store toward the back of the freezer and enjoy within two weeks for the best texture.
Nutrition Facts
- Total number of serves: 8
- Calories: 298kcal
- Fat: 23g
- Carbohydrates: 25g
- Net Carbs: 24g
- Fiber: 1g
- Sugar: 24g
- Protein: 3g