Making homemade butter with a Thermomix is one of the easiest and most rewarding kitchen projects. With just a few simple ingredients and a little preparation, you can turn cold cream into fresh, creamy butter in only a few minutes.
The process is surprisingly simple: the Thermomix whips the cream until it separates into golden butter solids and fresh buttermilk. After rinsing and removing the remaining liquid, you are left with delicious homemade butter that can be enjoyed on bread, toast, scones, vegetables, and many other dishes.
This easy Thermomix butter recipe is perfect for anyone who enjoys making everyday kitchen staples from scratch. Store-bought butter is convenient, but homemade butter offers something special: freshness, a naturally rich flavor, and complete control over the amount of salt added.
You can prepare it as unsalted butter or add pink salt flakes for a delicious salted version. The result is smooth, creamy, and wonderfully spreadable when stored at the right temperature.
Homemade butter is also a fantastic way to use good-quality cream. Instead of buying butter separately, you can transform cream into two useful kitchen ingredients: fresh butter and buttermilk. Both can be used in different recipes, making this simple preparation especially practical. Whether you are preparing breakfast, baking something special, or simply looking for a homemade alternative to supermarket butter, this recipe is worth adding to your regular kitchen routine.
Why Make Butter in a Thermomix?
A Thermomix makes butter preparation much easier because it handles the whipping process quickly and efficiently. Traditionally, making butter requires shaking cream in a jar or using an electric mixer until the fat separates from the liquid. Although those methods work, the Thermomix offers a convenient alternative with controlled speed settings and a mixing bowl that makes the process straightforward.
The most interesting part of making butter is watching the cream change texture. At first, it becomes thicker as it is whipped. It then reaches a stage similar to whipped cream before continuing to separate. Eventually, small yellow butter pieces form, and the remaining liquid becomes buttermilk. This separation is exactly what you want, and it means the cream has passed beyond the whipped cream stage and become butter.
Another advantage of using a Thermomix is that you can prepare a useful amount of homemade butter without spending much time in the kitchen. This recipe uses 600 grams of cold cream, making it suitable for preparing a batch to enjoy throughout the week. The mixing process does most of the work, while rinsing and shaping the butter require only a few additional minutes.
What Makes Homemade Butter Special?
Fresh homemade butter has a clean, rich dairy flavor that works beautifully with both sweet and savory foods. Because it is made from cream, its taste depends partly on the quality and freshness of the cream you choose. Good-quality cream produces delicious butter with a naturally creamy texture and a pleasant flavor that can make even a simple slice of bread feel special.
Another benefit is the ability to control the seasoning. Some people prefer traditional unsalted butter because it gives them greater flexibility when cooking and baking. Others enjoy salted butter with a noticeable savory taste. By adding pink salt flakes according to your preference, you can prepare a version that suits your meals and personal taste.
The texture can also be adjusted through proper rinsing and handling. Removing the remaining buttermilk is important because excess liquid can affect the quality and storage life of homemade butter. Once the butter has been thoroughly rinsed and pressed, it can be shaped into a convenient block, stored in a jar, or placed in a butter bell.
Understanding the Butter-Making Process
Before preparing this recipe, it helps to understand what happens when cream is whipped for an extended period. Cream contains fat globules surrounded by protective membranes. During whipping, these fat globules gradually come together. Initially, the mixture becomes thicker and develops the familiar texture of whipped cream.
If whipping continues, the fat globules begin to collect into larger pieces. Eventually, the mixture separates into solid butter and liquid buttermilk. This is the important stage of the recipe. The yellow butter pieces are the main product, while the liquid can be collected separately and used in suitable baking and cooking recipes.
The Thermomix makes this transformation easy to achieve, but the exact time can vary. Cream freshness, temperature, and fat content can influence how quickly separation happens. For this reason, it is better to watch the mixture instead of relying entirely on a fixed number of minutes. Stop when the butter and buttermilk have clearly separated.
How to Make Butter in a Thermomix
Step 1: Prepare the Thermomix Mixing Bowl
Start by making sure your Thermomix mixing bowl is completely clean and cold. Attach the butterfly whisk correctly before adding the cream. Keeping the bowl cold is helpful because the recipe begins with cold cream, and maintaining a cool environment supports the butter-making process.
Weigh 600 grams of cold cream directly into the mixing bowl. Secure the lid and begin whipping at speed 4. Allow the Thermomix to work until the cream separates into butter and buttermilk. Depending on the freshness and composition of your cream, this process may take a few minutes. Keep an eye on the mixture as it changes from thick cream into distinct butter pieces and liquid.
Step 2: Separate the Butter from the Buttermilk
Once the cream has separated, you should be able to see the butter solids and the remaining liquid clearly. Drain off the buttermilk, collecting it in a suitable container if you would like to use it in another recipe. Fresh buttermilk can be useful in pancakes, muffins, quick breads, and other baked goods that benefit from its mild tangy flavor.
After draining the liquid, remove the butterfly whisk from the Thermomix bowl. At this stage, the butter may look uneven or appear as several small yellow pieces. This is completely normal. The next stage involves washing and pressing the butter to remove any remaining buttermilk.
Step 3: Transfer the Butter to the Simmering Basket
Transfer the separated butter into the Thermomix simmering basket and place the basket inside the mixing bowl. This arrangement makes it easier to rinse the butter while allowing the washing water to drain away from the butter solids.
Handle the butter gently during this stage. There is no need to press it into a perfect shape yet because the purpose is to clean it and remove excess liquid. Keeping the butter together in the simmering basket also makes the washing process more manageable and reduces the amount of handling required.
Step 4: Wash the Butter with Ice-Cold Water
Pour ice-cold water over the butter until the base of the simmering basket is covered, following the recipe’s instructions. Run the Thermomix blades for a few seconds at speed 8–9, using reverse briefly a couple of times. This helps rinse the butter and loosen any remaining buttermilk.
Once the washing is complete, drain away the water. If the water appears cloudy, it may contain traces of remaining buttermilk. Removing this liquid is an important part of preparing good-quality homemade butter. Proper washing helps produce a cleaner-tasting finished product and reduces unwanted moisture.
Step 5: Press Out the Remaining Liquid
After washing, press the butter gently by hand to squeeze out as much remaining liquid as possible. This step should not be rushed because excess moisture can affect the finished texture and storage quality. Continue pressing until the butter feels firm and most of the visible liquid has been removed.
You can gather the butter into one piece as you work. If necessary, gently reshape it with your hands so that it becomes easier to transfer into your preferred storage container. Avoid unnecessary handling, especially if your hands are warm, because butter softens quickly at room temperature.
Step 6: Shape and Store Your Homemade Butter
Transfer the finished butter into a butter bell or a clean jar of your choice. Alternatively, place it on baking paper or parchment paper and roll it into a neat log. This makes it easy to slice or cut off the amount you need for cooking, baking, or spreading.
If you prefer salted butter, add pink salt flakes according to your taste and work them evenly through the butter. You can also keep the batch unsalted if you want a more versatile butter for baking. Once prepared, refrigerate the butter in a clean, covered container and enjoy it whenever you need a fresh homemade spread.
Tips for Making Perfect Thermomix Butter
Always Start with Cold Cream
Cold cream is an important part of this recipe. Using cream straight from the refrigerator helps maintain a suitable temperature while whipping. If the cream becomes too warm, the butter-making process may become less predictable, and the finished butter can become overly soft. Keeping the mixing bowl cold also helps maintain consistency during preparation.
Choose Good-Quality Cream
The quality of your cream has a direct effect on the flavor and yield of homemade butter. Choose fresh whipping cream with a suitable fat content. Cream products vary, so some may produce butter more easily than others. Checking the packaging and choosing a cream intended for whipping can help you achieve a better result.
Watch for Clear Separation
Do not stop whipping simply because the cream has become thick. Butter requires the cream to pass beyond the whipped cream stage. Look for visible yellow butter pieces and a separate liquid. The time required can change depending on the cream, so watching the mixture is more reliable than following a strict time limit.
Do Not Skip the Washing Step
Washing is an essential stage of homemade butter preparation. It removes remaining buttermilk from the butter and helps improve the finished product. Use ice-cold water as directed and drain it away after rinsing. Pressing the butter afterward is equally important because excess moisture can shorten its storage life.
Season According to Your Preference
Pink salt flakes give homemade butter a pleasant savory flavor, but you do not have to add them. If you enjoy unsalted butter, leave out the salt. If you prefer a more traditional salted butter, add generous pinches and mix them evenly into the finished butter.
Delicious Ways to Serve Homemade Butter
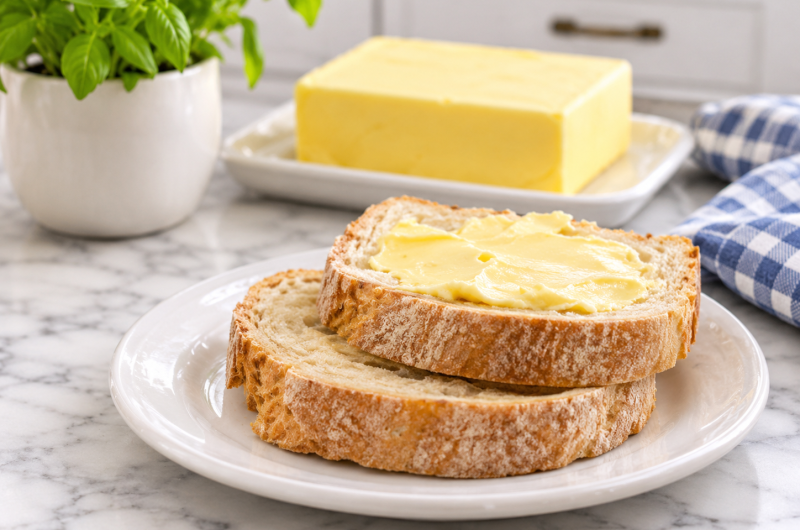
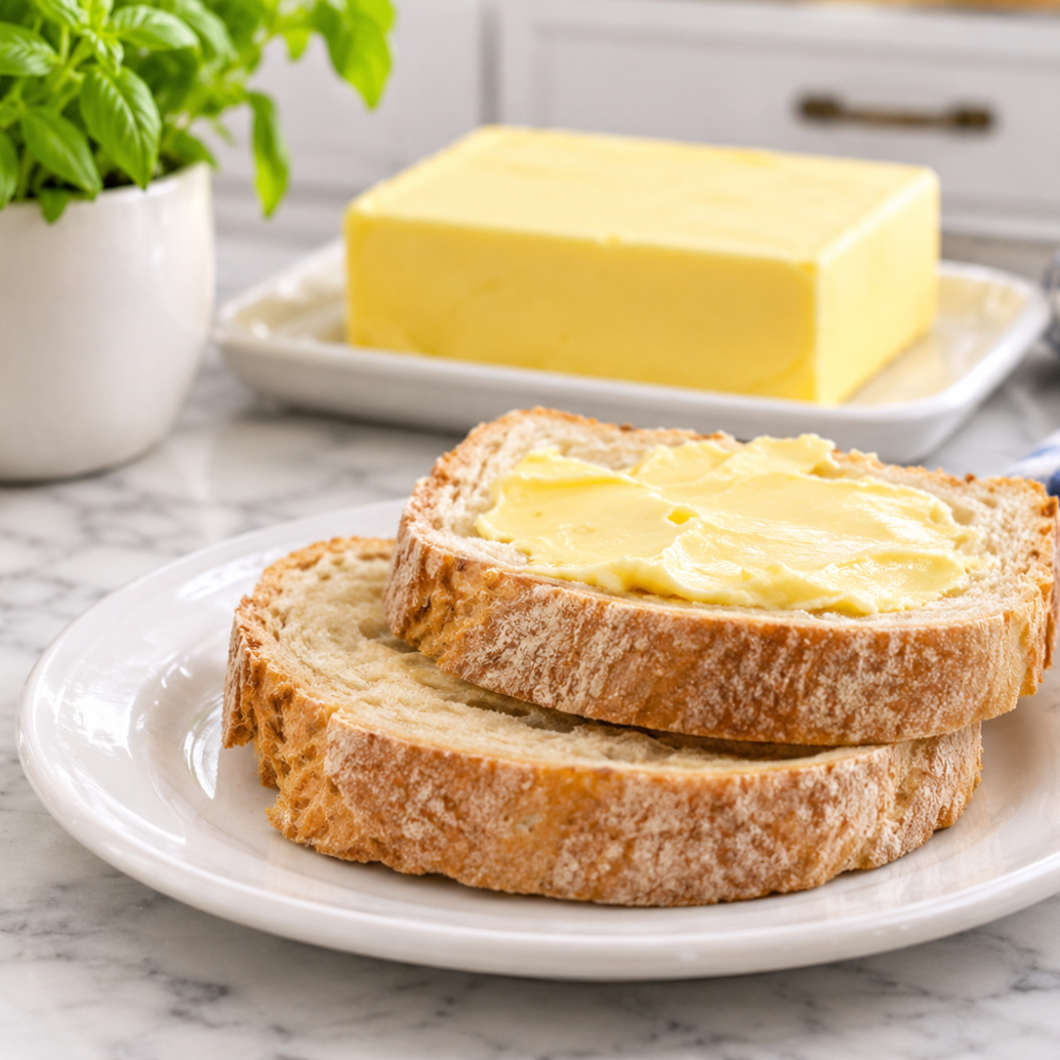
Fresh Thermomix butter is incredibly versatile and can be served in many different ways. One of the simplest options is spreading it over thick slices of fresh sourdough or warm crusty bread. The butter melts slightly into the bread, creating a rich and satisfying bite. A small sprinkle of flaky salt on top adds extra flavor and makes a simple snack feel special.
For breakfast or afternoon tea, serve homemade butter with warm scones and your favorite jam. Its creamy texture pairs beautifully with sweet fruit preserves. You can also spread it over warm toast, homemade rolls, muffins, or freshly baked bread. Because the butter is homemade, you can choose whether to use a salted or unsalted version depending on the food.
Butter is also excellent for serving with vegetables. Add a small amount to freshly steamed corn, boiled new potatoes, or other cooked vegetables while they are still warm. The butter melts over the surface and adds richness without requiring a complicated sauce. It can also be used to finish mashed potatoes, roasted vegetables, and simple vegetable side dishes.
For a more traditional French-inspired serving idea, enjoy thick layers of butter on a buckwheat galette. This style of serving celebrates the rich butter-making traditions associated with Brittany. You can also place the butter on a small serving plate alongside fresh bread, allowing everyone at the table to enjoy it as part of breakfast, brunch, or a casual meal.
Storage and Freshness
Because homemade butter does not contain the same preservatives or packaging protection as many commercial products, proper storage is important. Once the butter has been thoroughly washed and pressed, transfer it into a clean, airtight container or wrap it securely in parchment paper. Keep it refrigerated when it is not being used, and always use clean utensils when removing portions.
A butter bell can be another convenient storage option, particularly if you enjoy keeping a small amount of butter ready for spreading. Follow the care and water-changing instructions provided with your butter bell, and avoid leaving butter exposed to warm conditions for extended periods. Refrigeration remains the best option for storing the main batch.
For longer storage, homemade butter can also be frozen in a suitable airtight container or securely wrapped portion. Dividing it into smaller pieces before freezing makes it easier to use only what you need. Allow frozen butter to thaw in the refrigerator before serving or using it in your favorite recipes.
Frequently Asked Questions
Can I Make Butter with a Thermomix?
Yes. The Thermomix is very convenient for making homemade butter. It whips the cream until the fat separates from the liquid, leaving you with butter and fresh buttermilk. The remaining steps involve rinsing, pressing, seasoning if desired, and storing the butter properly.
How Long Does It Take to Make Thermomix Butter?
The preparation time listed for this recipe is approximately five minutes. However, the actual whipping time can vary depending on the cream’s freshness, temperature, and fat content. Watch for visible separation rather than relying only on a specific number of minutes.
Thermomix Butter
 Recipe by admin
A simple homemade butter recipe made in the Thermomix using cold cream. The cream is whipped until it separates into fresh butter and buttermilk, then the butter is rinsed, pressed, and optionally seasoned with pink salt flakes.
4
servings5
minutes5
minutesIngredients
600 grams cold cream
1 litre ice-cold water
Generous pinches of pink salt flakes
Directions
- Whip the Cream
Place the cold cream into a cold Thermomix mixing bowl fitted with the butterfly whisk. Whip at speed 4 until the cream separates into butter solids and buttermilk. This may take a few minutes, depending on the freshness of the cream. Drain off the buttermilk and remove the butterfly whisk. - Transfer the Butter
Place the separated butter into the simmering basket. Insert the basket into the Thermomix mixing bowl. - Rinse the Butter
Pour ice-cold water over the butter until the base of the simmering basket is covered. Run the blades for a few seconds at speed 8–9, using reverse briefly a couple of times. Drain away the water. - Remove Excess Liquid
Press the butter gently by hand, squeezing out as much remaining liquid as possible. Continue until the butter is well drained and holds together. - Season and Shape
Transfer the butter into a butter bell or a clean jar of your choice. Alternatively, roll it into a log using parchment paper. Add pink salt flakes to taste if desired. - Store and Serve
Refrigerate the finished butter in a clean, covered container. Serve with fresh bread, warm scones, vegetables, or your favorite homemade dishes.